
It is a very natural urge for photographers to document the swirling life around them. We often find ourselves drawn into, as observers, a number of situations and noticing interesting details about other people on the streets. Photographically capturing these moments is a very different thing, however. While landscape photographers will usually find themselves alone and sports photographers are expected to point huge lenses at people, it is a much more self-conscious process to photograph random people in public places. I am sure many of us have regretted leaving our cameras in the bag in the face of interesting everyday situations. In this article, I will provide several street photography tips for beginners. Hopefully, it will help you start using your gear more freely without fear of being confronted by your subjects.
1) What is Street Photography?
In essence, street photography is a type of candid photography done in a public place, be it a street, a restaurant or even public transport. It is similar in approach to photojournalism and mostly involves people (and/or animals) in a populated environment (which provides the context of a story told), such as a city. However, street photographers often focus on everyday lives of strangers rather than some kind of important event photojournalists are more interested in. Usually, street photographers try as much as possible to stay unnoticed when photographing. The goal of street photography is to capture scenes unaffected by the author of the work so as to show a natural story and subject. Story and subject are possibly the most important aspects of a good street shot. Henri Cartier-Bresson, arguably the best street photographer of all times, “the father of photojournalism”, had once said: “Above all, I craved to seize the whole essence, in the confines of one single photograph, of some situation that was in the process of unrolling itself before my eyes.”

Noticing and telling a story through a photograph is one of the most difficult tasks to master when doing street photography. Crucially, it involves the not-so-simple matter of actually taking the shot.
2) Be Daring About It
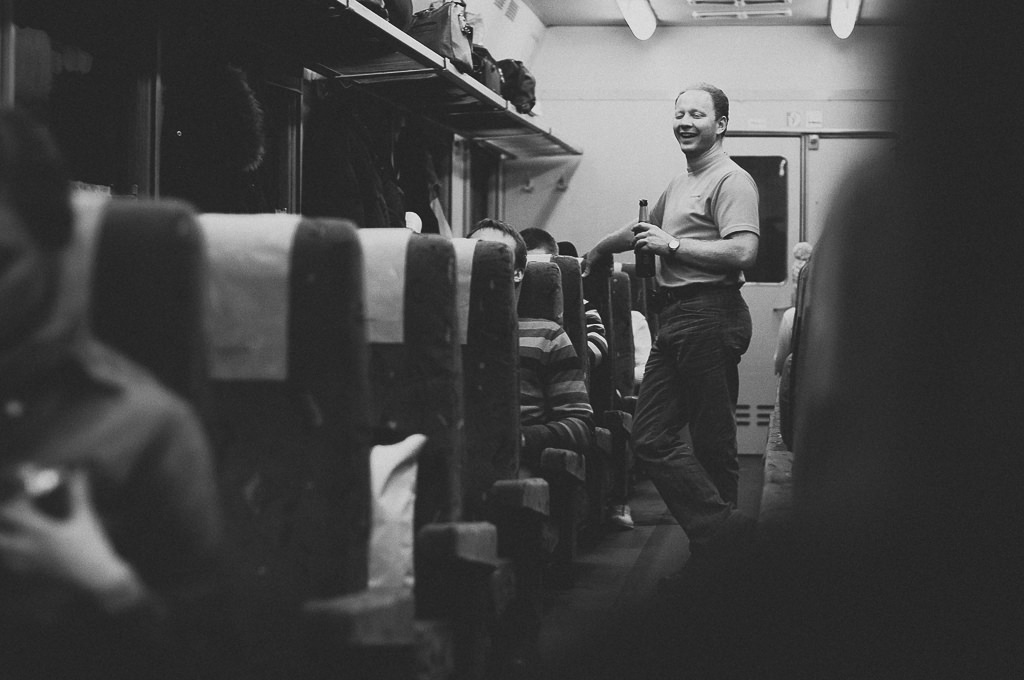
There’s no point in talking about gear and various street photography tricks unless you actually push yourself to take a picture. Now, it may not seem like such a big deal when reading this article, but once you’re out on the street, things can get a little less comfortable. Sure, every now and then people may smile at you or pay no attention to your camera at all, which is preferable. But at times, you may find yourself in less than friendly situation. See the image above? The two young men on the right started swearing at me while still about a hundred meters away. I didn’t put my camera down, but it wasn’t easy not to do so. They made interesting subjects in the end and I liked the emotional contrast between them and the old lady. Interestingly, it also gave me an idea of bringing a friend along whenever I felt like doing some street photography.
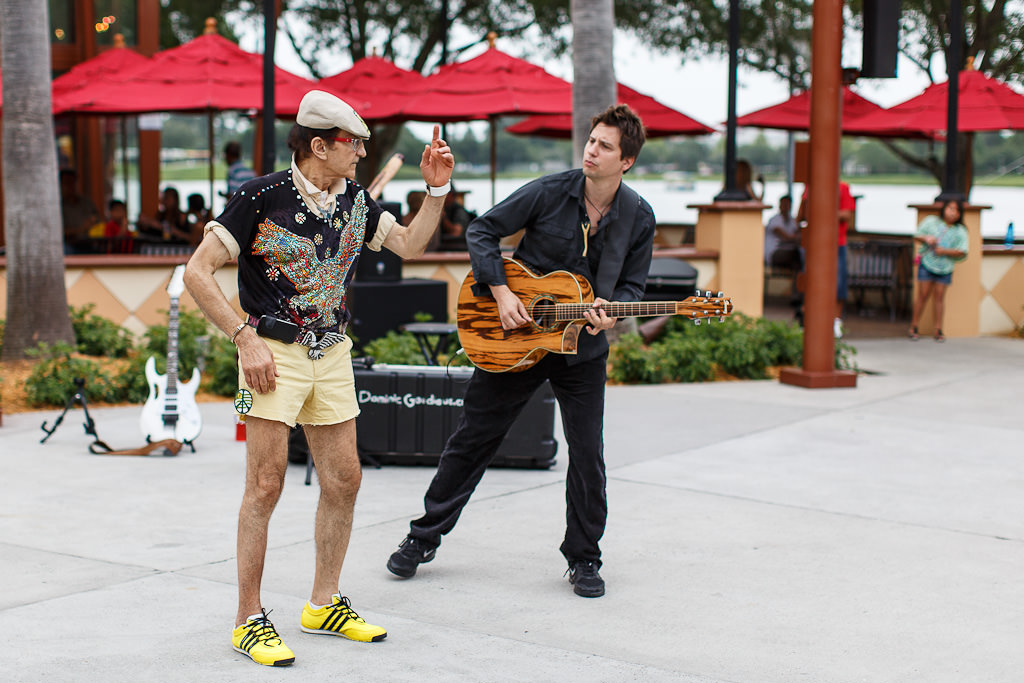
Canon EOS 5D Mark III + EF50mm f/1.2L USM @ 50mm, ISO 200, 1/320, f/2.0
Even when not dealing with the aggressive type, it takes a lot of courage to invade someone’s private space by photographing them without permission. Think of your motives. Why are you taking these photographs? Are you actually doing anything wrong in any way? Would you be angry or annoyed if you saw some other photographer taking a picture of you? There’s no reason why anyone should be angry at you for taking their photographs, unless you give them the reason to be angry. It is important to know how to behave in a friendly manner and not make your subjects angry. Getting into a conflict could potentially ruin both your and your subject’s mood for the day. Try to look friendly and interested, smile at people who notice you – being obviously secretive can lead to suspicion. Be sure you are not doing anything illegal. Read up any laws concerning photography in public places (you can start by reading our “Know Your Rights as a Photographer” article). In most countries such photography is permitted. Sometimes you may be approached by authorities when you’re not doing anything wrong – stay confident. However, photographing children, for example, may get you in more trouble. Laws concerning them are often more strict.
Of course, you may want to choose a different approach and actually ask for permission to take an image. While it will disrupt the natural turn of events (mind you, no one can guarantee anything worthy of attention will happen in the first place), some people make interesting subjects even when deliberately posing for your shot. Read more about approaching strangers in our “Are You Afraid to Ask?” article.
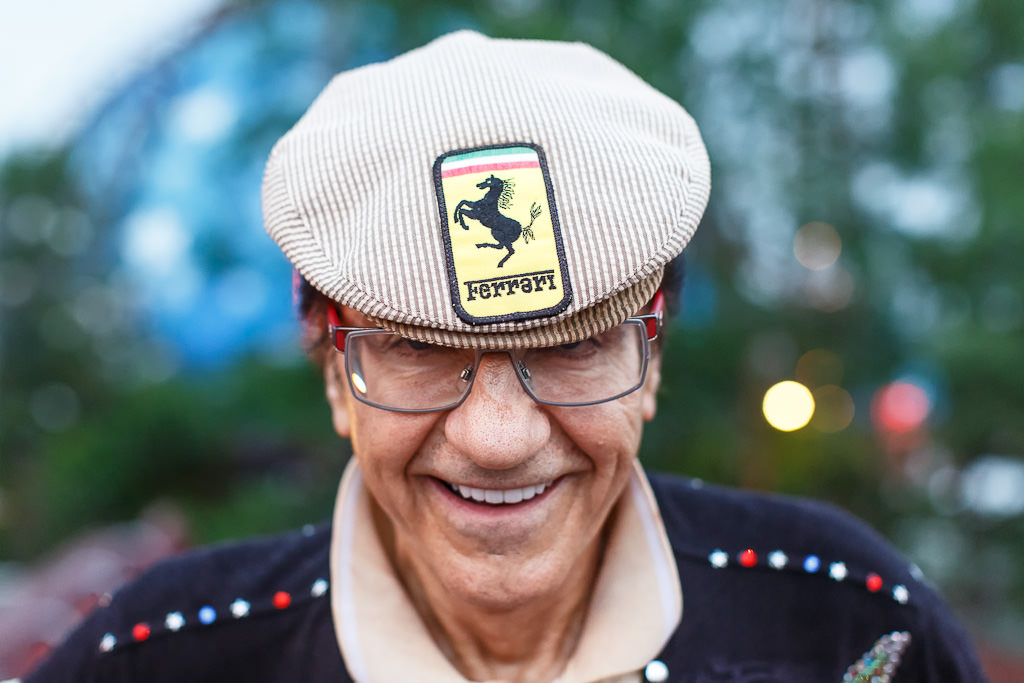
Canon EOS 5D Mark III + EF50mm f/1.2L USM @ 50mm, ISO 2500, 1/320, f/2.5
If you still feel uneasy, but really want to try your hand at street photography, start with simple situations. Not in all cases you will find your subject facing you. Finally, take up simple measures to draw your own attention away from being self-conscious. Try listening to your favorite music while you’re out, for example. This may help you feel more like an observer of the life surrounding you rather than a participant, and distance you from any unwanted reactions.
3) Alright… But what if I Don’t Want to Be Noticed?
It gets a lot easier to remain hidden once you’ve learned how to react when you’re seen taking the picture. Natural behavior attracts much less attention. First and foremost, learn to anticipate. This will help you keep that camera off your eye for longer, yet allow you to capture that decisive moment. Watch everything around you. Look at what people are doing, where they are going and who are they likely to run into on their way. Notice the surroundings, too. Look for interesting shapes, colors, posters, ads and secondary subjects. Get into a suitable position beforehand. If there isn’t one, keep moving around. Finally, once you can see that story unfold, be quick about taking your photograph. Have the settings right before you even start, and pre-focus to an anticipated distance if you can – it will save you precious seconds. At that point, all that’s left to do is bring that camera to your eye and snap away.

You can also practice a more discreet technique by shooting from your waist with the camera hanging around on the strap. Just stop down your lens, choose a hyperfocal distance to ensure everything within reasonable focus distance is sharp, and shoot away merely by pointing your camera in the right direction. With time, you will find yourself getting to know your lens better. You will then handle composition much more confidently, too.
If, by a probable chance, you do get noticed and don’t feel like smiling in apology, don’t take the camera off your eye after you’ve taken the shot. Just keep photographing things around you, or pretend to do so. Turn off your auto-review function, too – your subject may not even realize you’ve photographed them already. Always remember – those people out on the street are probably just as afraid of talking to you as you are of photographing them. It is likely they will try to pretend they haven’t even seen you.
4) What Gear Should I Use?
Now that you’re ready to storm the streets, it’s time to choose best tools for the job. What sort of camera and lens should you bring? In short – use anything you have. If it’s a big, professional DSLR – good for you. If it’s a point-and-shoot or a budget 5 megapixel smartphone – just as well. It’s best if there’s some manual control available, as in certain cases you may want to choose specific exposure settings. On some occasions, you may also prefer to set focus manually.
Street photography started with Leica. Today, this is where mirrorless system cameras come in their own. High quality, fast, small and quiet, they are likely among the most discreet photographic tools you will find and share many of the properties that made Leica rangefinder cameras so popular decades ago. Mind you, a pink Nikon J2 will get you noticed quickly, but an Olympus OM-D E-M5 should be a cracking camera for the job. Black or metallic colors work best. Still, don’t worry if you don’t own a mirrorless camera. Even with its loud shutter and big size, the more noticeable DSLR can also be great for street photography, as can lightweight, pocket-able point-and-shoot cameras. Remember that due to weight, size and overall presence, DSLR’s will require more skill in handling discreetly.
Lenses make for an interesting debate. There are photographers who believe using longer focal length and thus standing further away helps stay unnoticed and ensures that the subject remains natural. I personally find it to be a slightly creepy approach, never having used a longer than 85mm focal length for street photography (on a FF camera). Imagine a photographer pointing a monstrous 70-200mm lens at you from the other side of the street! I can’t see someone being too happy about it. Lets face it – large gear is scary for the non-photographers. All those huge white and black lenses are intimidating and will hardly leave your subject smiling, not to mention friendly even the slightest bit. This is one of the reasons why many good street photographers prefer small, wide-ish angle prime lenses. Among other things, these lenses also help with discretion. The most important advantage of a wide-angle lens is, however, the sense of presence. A perspective drawn by a wide-angle lens pulls the viewer in, makes him feel as if he’s in the captured image. As if he’s part of the story unfolding. Such a lens also allows for more background, which means more context.
Tele-lenses, on the other hand, compress perspective leaving out more detail that may otherwise be interesting. They make the subject seem more distant. Looking at an image taken with a 200mm lens feels like you’re looking at something that’s very far away. It’s just not as involving to observe. For this reason, I usually choose a wider-angle lens, ranging from 50mm to 24mm or even less. Your preference will vary.
5) The Settings
When doing some street photography, I prefer to rely on manual exposure settings. This is because AE (auto exposure) readjusts shutter speed and/oraperture whenever you change framing. Settings chosen by AE hugely depend on the amount of lights and darks within the frame. So, if I want to photograph a person walking down the street, but frame my shot so that there’s a lot of sky in the picture, AE will underexpose. I find manual exposure to work quicker than AE-Lock, but that’s a matter of taste. I set up and fine-tune my camera exposure whenever I have a free minute. I try to memorize the exposure difference between light and shadowy areas of the scene. On a sunny day, the difference might reach even 3 stops!
Depending on the results you’re after, you will want to choose a decently quick shutter speed to stop movement. During day-time it’s not a problem, but as soon as light levels start to diminish choosing a higher ISO value will become essential. Consider 1/200th of a second to be your approximate minimum. At times, you may want to slow down your shutter speed in order to achieve movement blur around your stationary subject, thus separating it within the frame.
Aperture’s easy – select a value that leaves you with a quick enough shutter speed and also plenty of depth of field for backgrounds and foregrounds.
6) Shallow Depth of Field Doesn’t Matter
Let’s face it – shallow depth of field is often enough to make even the most simple photograph look good. It is only too easy to get caught up in shallow depth of field aesthetics. Point that cheap 50mm f/1.8 lens at an old shoe and done – looks awesome. Even though it’s just a shoe. But we are not fooling anyone in street photography. Here, shallow depth of field is far from being enough to make that picture good. It’s about time we remember our lenses can also be stopped down to actually increase depth of field.
By no means am I saying you can’t do street photography wide-open. As a matter of fact, very rarely do I ever stop down my lens even slightly. But learning how to shoot with most of the frame in sharp focus can be a great experience. Extensive depth of field helps provide more background to the story, literally. Also, it counters any slight focus errors that may happen. Every now and then you may notice you’ve captured more than one interesting subject in the frame. Imagine being surprised at your own image! Whenever you’re out looking for good photographs, make shallow depth of field one of the options rather than default choice.
7) …Nor Does Image Quality
Don’t take my words straight to your heart – you should always stride for high image quality when possible, unless you expect lower quality to add to the mood of your photograph. However, in street photography, this aspect moves down the list of importance. Subject, mood, story, light and composition – all these things are ultimately more important than sharpness and low noise. Getting the mentioned points right will result in a great photograph even if it’s somewhat blurry and noisy. However, even the sharpest image will be worthless if there’s nothing to really look at apart from crisp detail and clean tones.

Capture the moment using whatever settings necessary. As long as you make out faces and shapes, as long as there’s good light, interesting story and well thought-through composition, there’s a large enough probability you’ll be glad you did.
8) Final Words
Look for particularly interesting subjects and focus on the story. Don’t lose your head trying to photograph every stranger you meet. By doing so, you are likely to fail to notice something that’s really worth your attention. Try to separate the more interesting people. Can you see someone eating on the run? Or is someone reading a paper and not looking properly at where they’re going? Is there someone heading for a deserted alley? Try finding a good background for your images, look for interesting light to emphasize your subject, possibly separate him from the rest of the world around.
Most importantly, raise your camera swiftly and without doubt so as to not miss that crucial, “decisive moment”, so craved by Henri Cartier-Bresson.


You must be logged in to post a comment.